
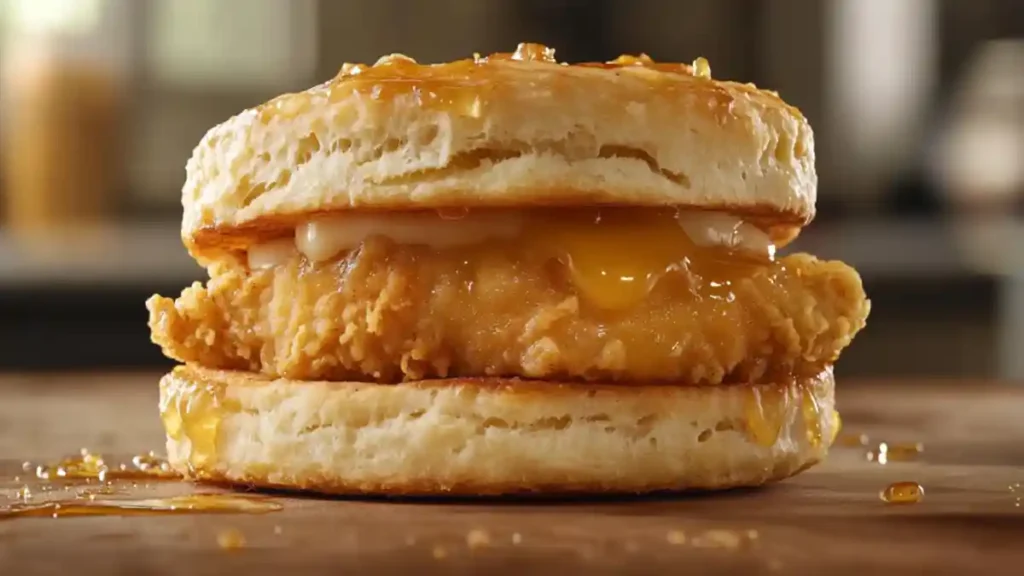
There’s something magical about biting into a perfectly made chicken mini – that warm, buttery biscuit embracing a crispy piece of seasoned chicken, creating a harmony of flavors that has become a beloved breakfast staple across America. Whether you’re a long-time fan or new to these delightful mini sandwiches, this comprehensive guide will walk you through everything you need to know about creating these morning delicacies in your own kitchen.
The History of Chicken Minis: From Fast Food to Cultural Icon
The story of chicken minis begins in the heart of Southern cuisine, where the combination of fried chicken and buttermilk biscuits has been a staple for generations. While Chick-fil-A popularized the modern chicken mini in the 1980s, the concept of serving chicken on small, buttery biscuits dates back to early Southern cooking traditions.
These bite-sized breakfast sandwiches gained widespread popularity as people sought convenient yet satisfying breakfast options that offered more than traditional continental fare. The perfect portion size and combination of protein and carbohydrates made them an instant hit among students, professionals, and families alike.
Understanding the Essential Components
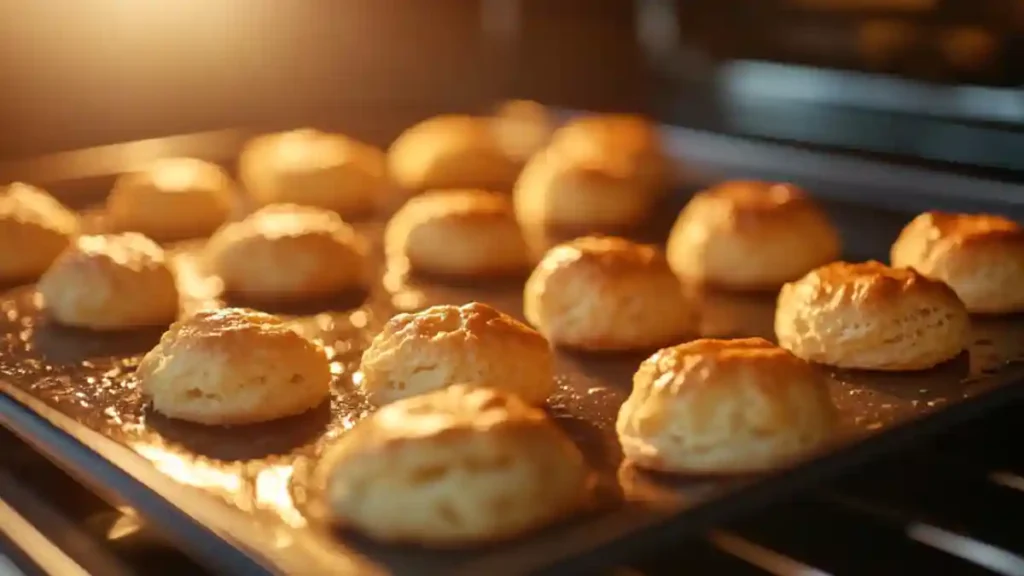
The Perfect Mini Biscuit Base
The foundation of any great chicken mini starts with its biscuit. These aren’t your ordinary biscuits – they’re specifically designed to be:
- Smaller than standard biscuits (typically 2-2.5 inches in diameter)
- Light and fluffy with multiple layers
- Slightly sweet with a buttery finish
- Sturdy enough to hold the chicken without falling apart
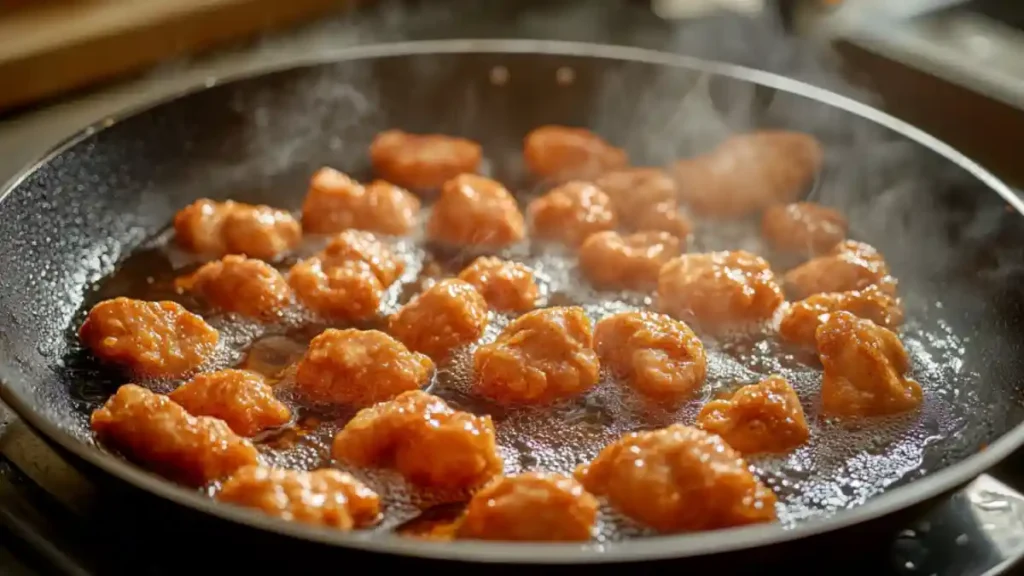
The Signature Chicken Component
The chicken in these minis requires special attention to achieve that distinctive taste and texture:
- Brined in pickle juice and buttermilk
- Seasoned with a proprietary blend of spices
- Breaded with a light coating
- Fried until golden brown
- Cut to fit perfectly within the mini biscuit
The Honey Butter Glaze
What sets chicken minis apart is their signature honey butter glaze, which adds:
- A subtle sweetness that enhances the savory chicken
- Extra moisture to the biscuit
- A glossy, appetizing appearance
- A distinctive flavor that ties all components together
Making Restaurant-Quality Chicken Minis at Home
Preparing the Biscuit Dough
The key to perfect mini biscuits lies in the technique:
- Use cold ingredients to ensure flakiness
- Handle the dough minimally to maintain tenderness
- Fold the dough several times to create layers
- Cut with a small biscuit cutter for uniform size
- Arrange close together on the baking sheet for soft sides
Mastering the Chicken
Creating the perfect chicken component requires attention to detail:
- Start with high-quality chicken breast
- Slice into appropriate portions
- Brine for at least 30 minutes
- Season thoroughly
- Use the right breading technique
- Fry at the optimal temperature
Assembly and Finishing Touches
The final steps are crucial for achieving that professional quality:
- Brush biscuits with honey butter while warm
- Place chicken on biscuits immediately
- Add an additional light brush of honey butter
- Serve while hot for the best experience
Tips for the Perfect Chicken Minis
Temperature Control
- Keep biscuit ingredients cold until mixing
- Maintain oil temperature between 350-365°F
- Serve immediately while components are warm
Make-Ahead Strategies
- Prepare biscuit dough in advance and freeze
- Mix dry ingredients ahead of time
- Prep chicken pieces and store properly
Common Mistakes to Avoid
- Overworking the biscuit dough
- Skipping the brining process
- Using oil that’s too hot or too cold
- Assembling too far in advance
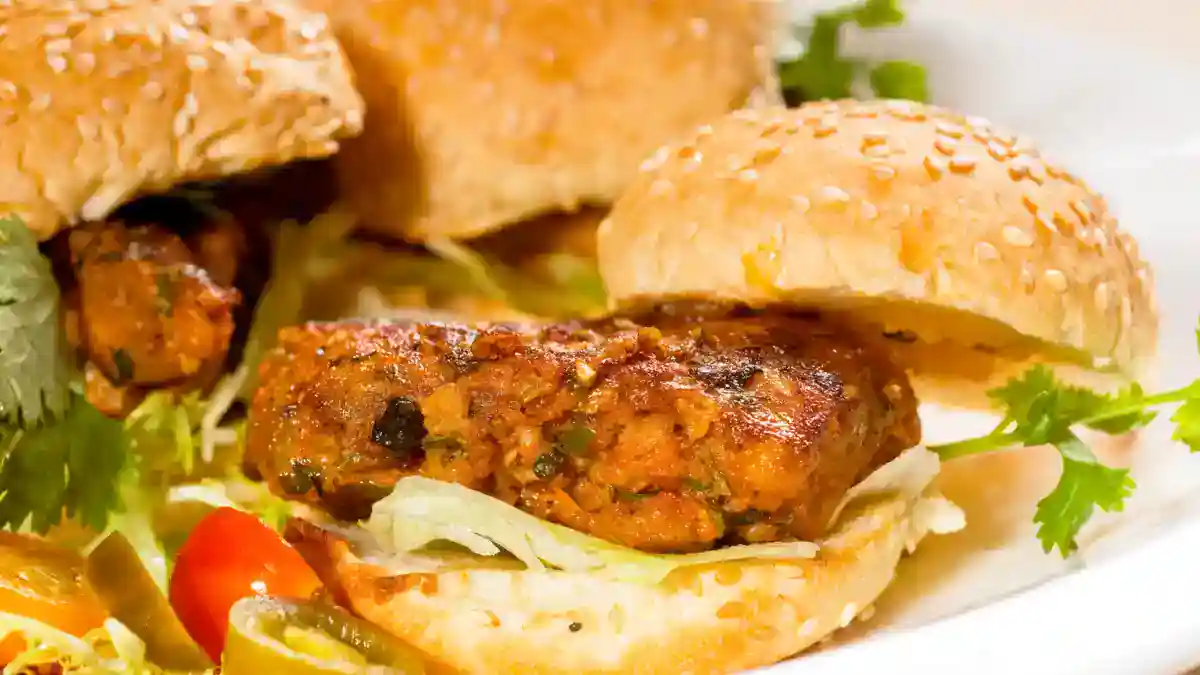
Variations and Creative Twists
Regional Adaptations
- Spicy Southern style with cayenne
- Honey BBQ variation
- Country gravy addition
- Pimento cheese blend
Dietary Modifications
- Gluten-free biscuit options
- Air fryer chicken preparation
- Whole wheat biscuit alternative
- Reduced-fat adaptations
Troubleshooting Common Issues
Biscuit Problems and Solutions
- Dense texture: Overworked dough or old leavening agents
- Lack of layers: Insufficient folding or too warm ingredients
- Uneven browning: Oven hot spots or incorrect positioning
Chicken Challenges
- Tough texture: Overcooked or improperly brined
- Soggy coating: Oil temperature too low or overcrowding
- Uneven cooking: Inconsistent piece sizes
Storage and Reheating Guidelines
Proper Storage
- Store components separately
- Refrigerate for up to 3 days
- Freeze unassembled components for up to 3 months
Reheating Methods
- Oven reheating for best results
- Microwave with caution
- Air fryer for crispy chicken
- Avoid reheating assembled sandwiches
The Cultural Impact of Chicken Minis
These beloved breakfast sandwiches have become more than just a meal – they’re a cultural phenomenon that represents:
- Southern hospitality and comfort food
- Quick, satisfying breakfast innovation
- Social gathering and sharing
- Nostalgic food memories
Expert Tips for Restaurant-Quality Results
Professional Insights
- Use a temperature probe for consistent results
- Implement proper timing techniques
- Master the art of batch cooking
- Understand ingredient quality impact
Kitchen Equipment Recommendations
- Heavy-bottom pot for frying
- Quality biscuit cutters
- Proper thermometer
- Wire racks for cooling
Frequently Asked Questions About Chicken Minis
How long does Chick-fil-A serve chicken minis?
Chick-fil-A serves chicken minis during breakfast hours only, typically from 6:30 AM to 10:30 AM at most locations. After breakfast hours, they are no longer available on the menu. However, some fans have found ways to recreate mini chicken sandwiches at home using similar ingredients, including soft rolls and crispy nuggets. If you’re craving them later in the day, consider making your own version or checking if your local location offers extended breakfast hours.
Are chicken minis only for breakfast?
Yes, chicken minis are exclusively part of the Chick-fil-A breakfast menu and are not available throughout the day. This makes them a sought-after morning treat, and many customers wish they were available all day. While you can’t get chicken-minis outside breakfast hours, Chick-fil-A’s regular nuggets and biscuits remain available if you’re looking for a similar taste.
How many calories are in 10 chicken minis?
A 10-count chicken minis serving contains approximately 920–1,000 calories, depending on portion size and any additional sauces or toppings. A standard chick-fil-a chicken mini tray is often shared among multiple people, making portion control easier. If you’re watching your intake, opting for a smaller serving or pairing it with a side of fruit can help balance the meal.
What kind of bread is used for chicken minis?
Chicken minis are made with soft, slightly sweet yeast rolls brushed with honey butter. These rolls give the mini chicken sandwiches their signature taste. The sweetness of the bread pairs perfectly with the crispy chicken nuggets inside. Many people try to replicate them at home by using Hawaiian rolls or similar soft bread rolls.
How do you reheat Chick-fil-A chicken minis?
To reheat chicken minis, it’s best to use an oven or air fryer to maintain their texture. Preheat the oven to 350°F and warm them for about 5–7 minutes. If using a microwave, wrap them in a damp paper towel and heat in 15-second intervals to prevent the bread from drying out. If you have leftovers from a chick-fil-a chicken mini tray, storing them in an airtight container and reheating in an air fryer helps keep them crispy.
Can you freeze chicken minis?
Yes, you can freeze chicken minis for later use. To do this, wrap them individually in plastic wrap or foil, then place them in a freezer-safe bag. When ready to eat, thaw them in the fridge overnight and reheat using an oven or air fryer for the best texture. Some people even make homemade mini chicken pot pies muffins using frozen nuggets and rolls for a creative meal idea.
Homemade Chicken Minis Breakfast Sandwich
Equipment
- Mixing bowls
- Biscuit cutter (2-inch)
- Rolling Pin
- Deep fryer or heavy-bottom pot
- Wire rack
- Baking sheet
Ingredients
For the Mini Biscuits
- 2 cups all-purpose flour
- 1 tbsp baking powder
- 1 tsp salt
- 1 tbsp sugar
- 6 tbsp unsalted butter cold, cut into small pieces
- 3/4 cup buttermilk cold
- extra butter for brushing
For the Chicken
- 2 large chicken breasts sliced into 2-inch pieces
- 1 cup buttermilk
- 1/4 cup pickle juice
- 1 1/2 cups all-purpose flour
- 1 tbsp paprika
- 1 tsp garlic powder
- 1 tsp onion powder
- 1 tsp salt
- 1/2 tsp black pepper
- vegetable oil for frying
For the Honey Butter
- 4 tbsp butter melted
- 2 tbsp honey
- 1 pinch salt
Instructions
- Slice chicken breasts horizontally and then into 2-inch pieces.
- In a bowl, combine buttermilk and pickle juice. Add chicken pieces and marinate for 30 minutes.
- Mix flour, paprika, garlic powder, onion powder, salt, and black pepper in a shallow dish.
- Remove chicken from marinade and coat each piece in the seasoned flour mixture.
- Heat vegetable oil in a deep pot to 350°F (175°C) and fry chicken pieces until golden brown, about 4-5 minutes. Drain on a wire rack.
- Preheat oven to 450°F (230°C).
- In a large bowl, whisk together flour, baking powder, salt, and sugar.
- Cut in cold butter using a pastry cutter or fingers until mixture resembles coarse crumbs.
- Add cold buttermilk and mix until just combined.
- Turn the dough onto a floured surface, fold it over itself 6 times, and roll to 1/2-inch thickness.
- Use a 2-inch biscuit cutter to cut out rounds and place them close together on a baking sheet.
- Bake for 12-15 minutes until golden brown.
- Mix melted butter, honey, and a pinch of salt to make the honey butter glaze.
- Split warm biscuits in half, brush with honey butter, and place a fried chicken piece inside.
- Brush the tops with more honey butter and serve immediately.