
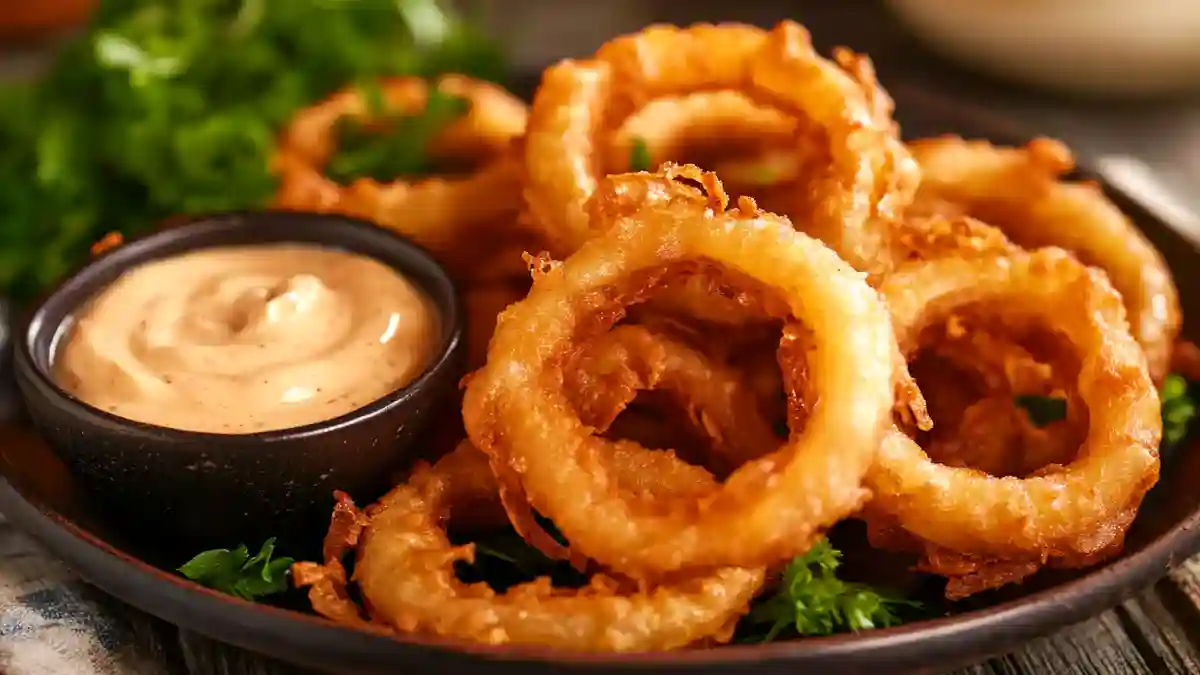
Imagine a warm evening, the enticing scent of frying food wafting through your kitchen, and the sound of crispiness as you bite into a golden-brown onion ring. Homemade onion rings are not just a snack; they are a comforting indulgence that can elevate any meal. Whether you’re enjoying them with a burger, as a party appetizer, or simply on their own with a zesty dipping sauce, these crispy delights are sure to please everyone at the table.
Onion rings have long been a beloved comfort food, often found on diner menus and take-out menus alike. But have you ever considered making them at home? Making your own onion rings allows you to control the ingredients, ensuring they are light, crunchy, and bursting with flavor. Plus, it’s a fun cooking project that can bring family and friends together in the kitchen. Let’s dive into the delicious world of homemade onion rings, where we’ll explore the recipe, tips for success, and much more!
Equipment Needed
- Sharp knife
- Three mixing bowls
- Whisk
- Frying pan
- Slotted spoon
- Paper towels
- Baking sheet
Why You’ll Love This Recipe
- Quick and Easy: This recipe is straightforward and can be made in under 30 minutes.
- Customizable: You can easily tailor the seasoning to your taste preferences.
- Budget-Friendly: Using simple ingredients, you can create a delicious snack without breaking the bank.
- Fun for All Ages: Making onion rings can be a fun activity for kids and adults alike.
- Perfect for Any Occasion: Whether it’s game night, a family dinner, or a movie marathon, these onion rings are always a hit.
Ingredients and Substitutions
- Yellow Onions: These provide a milder flavor. If you prefer a bit more sweetness, consider using sweet onions.
- Panko Breadcrumbs: These are essential for that extra crunch. If you don’t have panko, regular breadcrumbs can be used, though the texture may differ.
- Milk: For a dairy-free version, you can substitute almond milk or another non-dairy milk.
- Spices: Feel free to experiment with spices; you can add cayenne for heat or Italian herbs for a different flavor profile.
How to Make Homemade Onion Rings (Step-by-Step)
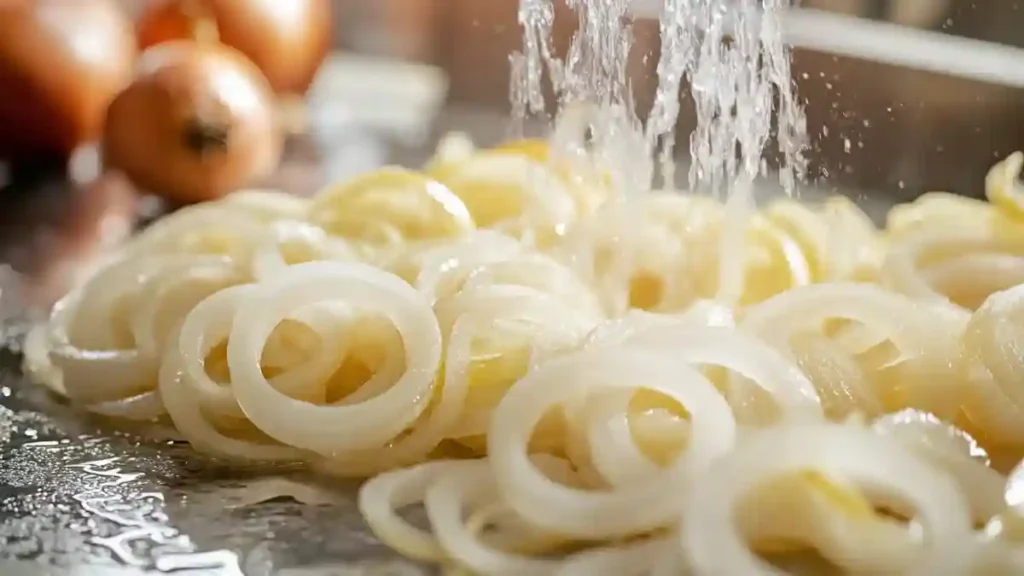
Step 1: Preparing the Onions
Start by peeling the outer layers off your yellow onions. Slice each onion into ½ inch rings, ensuring that each ring is uniform in thickness. This step is crucial for even cooking. After slicing, gently separate the rings to prepare them for dredging.
Step 2: Setting Up the Dredging Station
In your kitchen, set up three bowls for the dredging process. The first bowl will hold flour for dusting, the second bowl will contain the batter, and the third bowl will have the panko breadcrumbs. This organized approach makes the coating process smooth and efficient.
Step 3: Coating the Rings
Dust each onion ring lightly with flour, shaking off any excess. Next, dip the floured ring into the batter, coating it completely. Finally, roll the ring in panko breadcrumbs, ensuring it is well-coated for that crunchy exterior. Line the coated rings on a baking sheet as you work.
Step 4: Heating the Oil
In a large frying pan, pour enough canola oil to cover the bottom and heat it over medium-high heat. Use a thermometer to monitor the temperature, aiming for around 350°F. This temperature is ideal for frying and will help achieve that perfect golden brown color.
Step 5: Frying the Onion Rings
Once the oil is hot, carefully drop the coated onion rings into the oil. Do not overcrowd the pan to ensure that each ring cooks evenly. Cook for about 2 minutes on each side, and cook until they are an amazing golden brown.
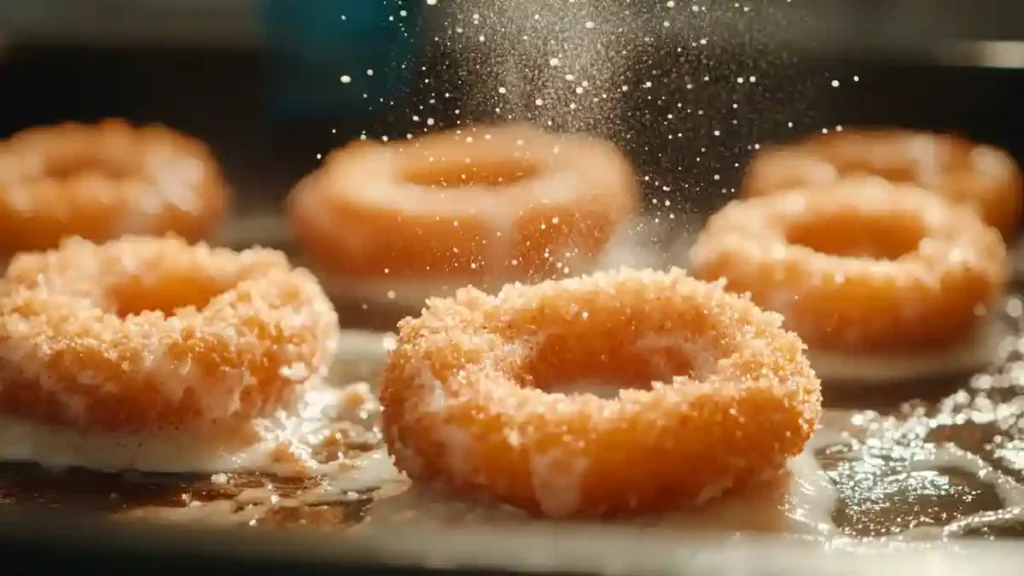
Step 6: Draining and Seasoning
After the onion rings are perfect fried, take the onion rings from the oil with the slotted spoon. Set them up on a lined paper towel tray to soak up any oil that is left. Set them up on a paper towel lined tray to soak up any oil that is left. While they’re still hot, season them generously with kosher salt.
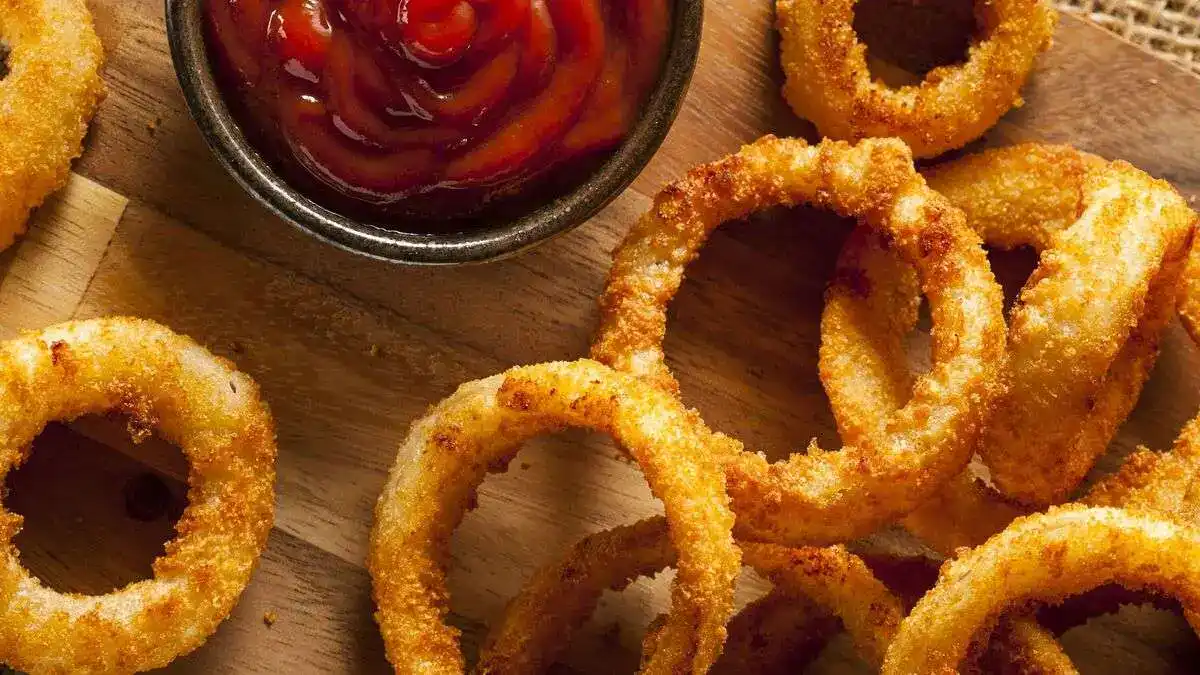
Step 7: Serving
Serve your onion rings made from scratch as soon as they’re hot and crisp. Pair them with your favorite dipping sauce, such as ranch, barbecue, or spicy mayo, for a delightful snack experience.

Expert Tips for Success
- Uniform Slicing: Ensure your onion rings are cut evenly to avoid uneven cooking.
- Oil Temperature: Keep an eye on the oil temperature using a thermometer to prevent burning or undercooking.
- Batch Frying: Fry in small batches to maintain the oil temperature and achieve a crispy result.
- Cooling Rack: For extra crispiness, place fried rings on a cooling rack instead of paper towels.
Variations and Customizations
- Baked Onion Rings: For a healthier version, try baking your onion rings. Set your oven at 400°F and spray the rings with cooking spray, then bake for around 20 minutes. Flipping them half way through.
- Spicy Onion Rings: Add more cayenne pepper or a dash of hot sauce to the batter for an extra kick.
- Cheesy Rings: Add grated Parmesan cheese in the panko to give it an edgy taste.
- Gluten-Free Option: Utilize a gluten-free flour mix with gluten-free breadcrumbs in order to create a recipe for people who are sensitive to gluten.
Storage and Reheating Instructions
Storing Leftovers: Allow the leftover onion rings to cool completely before placing them in an airtight container. They can be stored in the refrigerator for up to 3 days.
Reheating: To heat, place them on baking tray and place them into a preheated oven at 375 degrees F for approximately 10-15 minutes, or till they are heated through and crisp. Avoid microwaving as it can cause them to become soggy.
Serving Suggestions
Dips: Serve your homemade onion rings with a variety of dips, such as ranch dressing, spicy ketchup, or garlic aioli.
Sides: Pair with burgers, sandwiches, or salads for a complete meal. They also make a great addition to a platter of appetizers for parties.
Related Recipes
If you enjoyed these homemade onion rings, you might also like:
- Crispy Zucchini Fries: A healthy alternative that’s just as crunchy.
- Classic Fried Pickles: Another delicious snack that’s perfect for dipping.
- Loaded Nachos: A crowd-pleasing appetizer that’s perfect for parties.
- Stuffed Jalapeños: Spicy and cheesy, these are a great finger food option.
Homemade onion rings are a delightful treat that brings comfort and joy to any occasion. With their light, crispy texture and rich flavor, they are sure to become a favorite in your household. Whether you’re serving them at a game night, family dinner, or simply enjoying a cozy evening at home, these onion rings will impress your friends and family.
So, gather your ingredients, follow the steps, and dive into the satisfying experience of making your own crispy onion rings. Trust us; once you try this recipe, you’ll never want to go back to store-bought versions again. Enjoy every crunchy bite!
Frequently Asked Questions (FAQs)
What is an onion ring?
An onion ring is a beloved side dish available in various forms: traditional tempura onion rings, cheese onion rings, and even keto onion rings with cheese. They’re made by slicing onions into rings, coating them in batter or breading, and frying until golden. You can also find onion rings chips and onion ring chips as packaged snacks that capture the same flavors in a convenient form.
Why did McDonald’s stop onion rings?
While McDonald’s focused on fries, many restaurants offer diverse onion ring varieties, from air fryer onion rings no breadcrumbs to gluten-free versions. Unlike calamari which is shaped like onion rings but made from squid, traditional onion rings remain a staple at many other fast-food chains and restaurants.
Are onion rings healthy?
Health considerations vary by preparation method:
Air fryer onion rings no breadcrumbs offer a healthier alternative
Keto onion rings with cheese fit low-carb diets
Gluten-free onion rings accommodate dietary restrictions
Tempura onion rings are lighter than traditional breading
Cheese onion rings add protein but increased calories
Why do people eat onion rings?
The popularity of onion rings spans various styles:
Traditional crispy tempura onion rings for lunch
Convenient onion rings chips for snacking
Diet-friendly air fryer onion rings no breadcrumbs
Indulgent cheese onion rings
Special diets: are onion rings gluten free options
Keto onion rings with cheese for low-carb dieters
Are onion rings safe to eat?
Safety considerations for all varieties:
Proper temperature for traditional and tempura onion rings
Air fryer settings for no-breadcrumb versions
Allergen awareness (are onion rings gluten free?)
Clean preparation for cheese onion rings
Safe storage of onion rings chips
Temperature control for keto versions
What country invented onion rings?
While the US popularized traditional onion rings, global variations include:
Japanese-style tempura onion rings
British pub-style cheese onion rings
Modern air fryer onion rings no breadcrumbs
American onion rings chips
European variations of calamari shaped like onion rings
Contemporary keto onion rings with cheese
Various gluten-free adaptations
Onion Rings
Ingredients
For the Onion Rings:
- 2 large yellow onions sliced into ½ inch rings
- 2 cups panko breadcrumbs
- ½ cup flour for dusting
For the Batter:
- ½ cup flour
- 1 cup milk
- 1 large egg
- ½ tsp brown sugar
- 1 tsp garlic powder
- 1 tsp onion powder
- ¼ tsp cayenne pepper
- 2 tsp smoked paprika
- 1 tsp kosher salt
- 1 tsp black pepper
Instructions
- Prepare the Onions: Begin by carefully peeling the outer skins off the onions. Slice each onion into ½ inch thick rings. Use your hands to gently separate the rings from each othe
Set Up Your Dredging Station: You’ll need three bowls:
- Bowl 1: Add ½ cup of flour for dusting the onion rings.
- Bowl 2: Whisk together ½ cup flour, 1 cup of milk, and 1 egg until smooth. Add brown sugar, garlic powder, onion powder, cayenne pepper, smoked paprika, kosher salt, and black pepper. Mix well to combine.
- Bowl 3: Fill with 2 cups of panko breadcrumbs.
- Coat the Onion Rings: Take each onion ring and dust it lightly with flour from Bowl 1. Next, dip it into the batter from Bowl 2, ensuring it is well coated. Finally, place the ring in Bowl 3 and coat it thoroughly with panko breadcrumbs. Set the coated rings on a baking sheet.
- Heat the Oil: In a large frying pan, heat about 1 cup of canola oil over medium-high heat. To determine whether the oil is ready you can drop a small portion of the batter inside. If it bubbles and fries immediately, you’re good to go.
- Fry the Onion Rings: Carefully place the coated onion rings into the hot oil, ensuring not to overcrowd the pan. Fry for about 2-3 minutes on each side or until they turn golden brown and crispy.
- Drain and Season: Once cooked, remove the onion rings from the oil using a slotted spoon and place them on a paper towel-lined tray to soak up any excess oil. Season immediately with kosher salt for that extra flavor kick.
- Serve and Enjoy: Serve your homemade onion rings hot with your favorite dipping sauce, and enjoy every crunchy bite!
Notes
- Consistency is Key: Make sure your onion rings are cut evenly for uniform cooking.
- Oil Temperature: Fry in hot oil (around 350°F) for the best texture and color.
- Seasoning: Don’t forget to season with salt right after frying for enhanced flavor.