

Imagine walking into a cozy kitchen filled with the warm, inviting scent of freshly baked bread. The golden crust crackles as you slice through, revealing a soft, airy interior that promises to melt in your mouth. This is the magic of Sprouted Sourdough Bread. Not only does it taste divine, but it’s also a wholesome choice that elevates your bread-baking game.
Sourdough has captivated bakers for centuries, known for its tangy flavor and delightful texture. When you introduce sprouted flour into the mix, you enhance its nutritional profile and flavor complexity. Sprouted flour is made from whole grains that have been germinated, making it easier to digest and packed with nutrients. This recipe is perfect for both beginners and seasoned bakers who are eager to explore the wonders of sourdough with a nutritious twist.
Why You’ll Love This Recipe
- Nutritious: Grown flour improves the bread’s wholesome esteem, making it a more beneficial choice.
- Flavorful: The tart notes of sourdough combined with the nuttiness of grown flour make an exceptional taste.
- Artisan Quality: Accomplish bakery-level comes about in your kitchen, awing family and companions alike.
- Customizable: This formula can be custom-made with different grains or seeds to suit your taste.
Key Ingredients and Substitutions
Sourdough Starter
The spine of any sourdough formula. If you don’t have one, see the FAQ area for tips on making your own.
Sprouted Flour
While this formula calls for grown spelt flour, you can substitute it with grown entire wheat flour for a comparative flavor profile. Both choices give improved supplements over customary flour.
Water
Use sifted water for the best comes about. Tap water can contain chlorine, which may prevent the aging process.
How to Make Grown Sourdough Bread (Step-by-Step)
Step 1: Get ready the Levain
Mix 25 grams of your sourdough starter with 100 grams of flour and 100 grams of room temperature water. Cover and let it rest overnight. This step is vital as it kickstarts the maturation process.
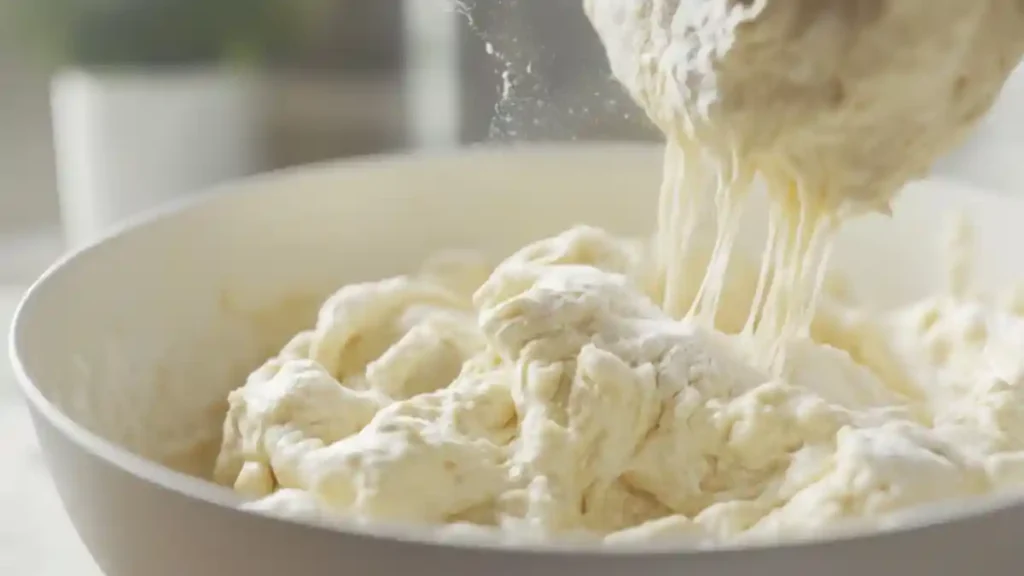
Step 2: Blend the Dough
The taking after day, combine your levain with 650 grams of room temperature water and the remaining flour. Blend until there are no dry spots, at that point, let it rest for 30 minutes.
Step 3: Autolyse
Autolyse makes a difference create gluten and progresses batter surface. Cover the blend and let it rest for 30 minutes.
Step 4: Join Salt
Add 20 grams of salt and 50 grams of room temperature water to the dough. Utilize a squeezing movement to blend completely, guaranteeing the salt is equally distributed.
Step 5: Bulk Fermentation
Place the mixture in a bowl and cover it with a clammy towel. Over the following 3-5 hours, perform extend and folds each 30 minutes. This step builds quality in the dough.
Step 6: Pre-shape the Dough
After bulk maturation, turn batter onto a softly floured surface. Separate it into two rise to parcels and pre-shape them into harsh rounds.
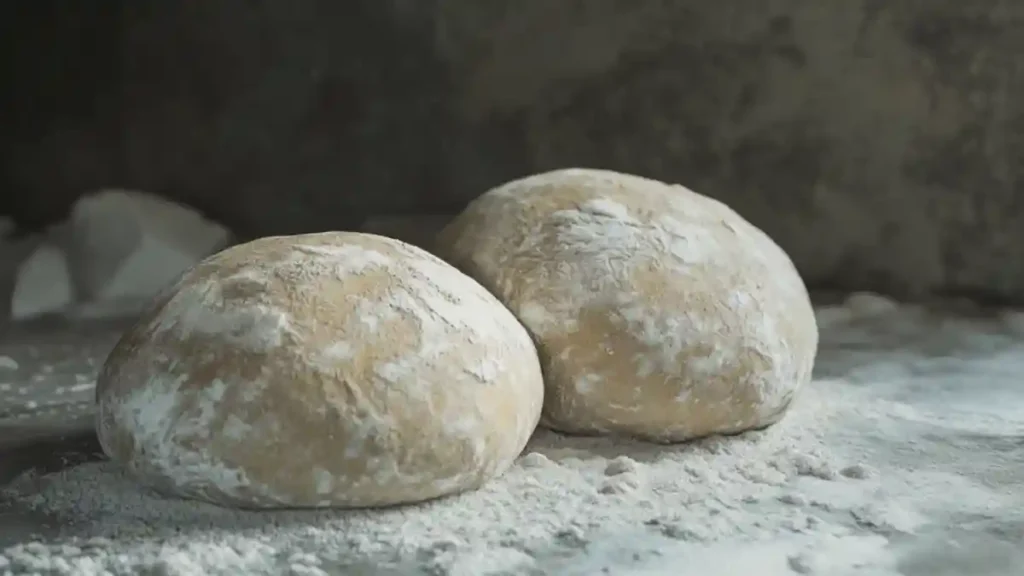
Step 7: Final Shaping
Let the pre-shaped batter rest for 20 minutes. At that point, shape it into a tight ball or oval, depending on your preference.
Step 8: Proofing
Transfer the formed mixture into a floured banneton, crease side up. Cover it and let it confirmation in the ice chest overnight.
Step 9: Baking
Preheat your Dutch stove at 480°F (250°C) for 30 minutes. Carefully exchange your mixture onto a piece of material paper, score the best, and put it in the hot Dutch stove. Prepare with the top on for 40 minutes; at that point, evacuate the top and prepare for an extra 15 minutes until brilliant brown.
Step 10: Cooling
Once heated, exchange the bread to a cooling rack. Permit it to cool for at slightest 2 hours some time recently cutting to guarantee the surface sets properly.

Expert Tips for Success
- Patience is Key: Sourdough heating requires time and hone. Do not surge the handle; permit each step to unfurl naturally.
- Temperature Control: Guarantee your kitchen is at a comfortable temperature for maturation (around 70°F/21°C) for best results.
- Keep a Diary: Track your heating prepare, noticing the time and temperature, to refine your procedure over time.
Variations and Customizations
- Add Seeds: Join flaxseeds, sunflower seeds, or sesame seeds into the batter for included surface and flavor.
- Herbs and Flavors: Explore with herbs like rosemary or flavors like cinnamon for interesting flavor profiles.
- Dried Fruits: Adding dried fruits like cranberries or raisins can create a sweet twist.
Storage and Reheating Instructions
Storage
Once cooled, store your sourdough bread in a paper sack at room temperature for up to 3 days. For longer capacity, wrap it firmly in plastic wrap and solidify for up to 3 months.
Reheating
To restore the outside, warm cuts in a toaster or an broiler preheated to 350°F (175°C) for around 5-10 minutes.
Serving Suggestions
Pair your Grown Sourdough Bread with:
- Homemade jams or spreads
- Avocado toast topped with cherry tomatoes and feta
- A warm bowl of soup for a comforting meal
Related Recipes
- Classic Sourdough Bread: A conventional take on this adored recipe.
- Whole Wheat Sourdough: For those who favor a heartier loaf.
- Sourdough Hotcakes: Utilize your sourdough starter in a delicious breakfast twist.
Making Sprouted Sourdough Bread is not just about creating a delicious loaf; it’s about embracing the art of baking and the joy of nurturing your sourdough starter. This recipe combines the wholesome goodness of sprouted flour with the tangy flavor of traditional sourdough, yielding a loaf that is both nutritious and satisfying. Whether you’re a novice or an experienced baker, this recipe invites you to explore the enchanting world of sourdough. So roll up your sleeves, gather your ingredients, and embark on this delightful baking adventure today!
Frequently Inquired Questions (FAQs)
What exactly is sourdough bread?
Sourdough bread is a type of naturally leavened bread made using a fermented starter instead of commercial yeast. This starter is a mixture of flour and water that captures wild yeast and beneficial bacteria, allowing the dough to rise slowly and develop a deep, tangy flavor. Unlike regular bread, which relies on store-bought yeast for a quick rise, sourdough undergoes a long fermentation process that enhances its texture, flavor, and digestibility. There are many variations of sourdough, including pumpkin sourdough bread and chocolate sourdough bread, which add unique flavors to the traditional recipe.
Why is sourdough bread so much better?
Sourdough bread is considered superior to regular bread because of its natural fermentation process, which improves both taste and nutritional value. The slow rise time enhances the bread’s digestibility and makes nutrients more bioavailable. The fermentation also breaks down phytic acid, which can inhibit the absorption of minerals like iron and magnesium. Many people prefer sourdough garlic bread for its added depth of flavor and health benefits. Additionally, sourdough tends to have a crispier crust and a chewier texture compared to conventional bread.
Is sourdough bread good for diabetics?
Yes, sourdough bread can be a better option for diabetics compared to regular white or whole wheat bread. The fermentation process lowers the bread’s glycemic index (GI), meaning it does not cause rapid spikes in blood sugar levels. This makes it a preferred choice for people managing diabetes. If you are gluten-sensitive, gf sourdough bread (gluten-free sourdough) is also available, offering similar benefits without gluten. However, portion control is still important for managing blood sugar effectively.
Can you freeze sourdough bread?
Yes, you can freeze sourdough bread to extend its freshness. To freeze it properly, wrap the bread tightly in plastic wrap or aluminum foil, then place it in an airtight bag. For best results, slice it before freezing so you can thaw only the amount you need. When ready to eat, thaw at room temperature or toast directly from frozen. This method works well for all types of sourdough, including sourdough discard sandwich bread and sourdough bread bowls used for soups.
What is the secret to good sourdough bread?
The secret to making great sourdough bread lies in a few key factors: a well-maintained starter, proper fermentation, and good flour quality. A strong, active starter ensures a good rise, while long fermentation times develop the best flavor and texture. Using high-quality, unbleached flour provides the best nutrients for the fermentation process. Additionally, some bakers prefer same day sourdough bread recipes for convenience, but the best results often come from slow, cold fermentation techniques.
Why does sourdough need a starter?
Sourdough bread requires a starter because it acts as the natural leavening agent. Unlike commercial yeast, which speeds up the fermentation process, a sourdough starter contains wild yeast and lactic acid bacteria that slowly ferment the dough. This process not only helps the bread rise but also enhances its flavor, improves digestion, and extends shelf life. Without a starter, sourdough bread would not have its characteristic tangy taste or airy texture.

Sprouted Sourdough Bread
Equipment
- Dutch Oven
- Mixing bowls
- Banneton Basket
Ingredients
Levain
- 25 g sourdough starter
- 100 g organic white bread flour or unbleached all-purpose flour
- 100 g water room temperature
Dough
- 650 g water room temperature
- 750 g organic white bread flour or unbleached all-purpose flour
- 250 g sprouted spelt flour or sprouted whole wheat flour
- 20 g salt
- 50 g water room temperature
Instructions
- Mix the sourdough starter, 100g flour, and 100g water. Cover and let it rest overnight.
- Combine the levain with 650g water and remaining flours. Mix well and let rest for 30 minutes.
- Let the dough rest for 30 minutes (autolyse).
- Add salt and 50g water, mix thoroughly.
- Cover the dough and perform stretch and folds every 30 minutes for 3–5 hours.
- Turn out dough, divide, and pre-shape. Rest for 20 minutes.
- Shape into rounds or ovals and place in a floured banneton. Refrigerate overnight.
- Preheat Dutch oven to 480°F (250°C). Transfer dough to parchment, score, and bake covered for 40 minutes, then uncovered for 15 minutes.
- Cool on a rack for at least 2 hours before slicing.